How to use the new ESSIC Asset System / EBO Inventory Control Tool
Watch the video or read the text below for guidance on how to use the new ESSIC Asset System & EBO Inventory Control Tool.
How to use the ESSIC Asset System (video)
How to use the ESSIC EBO Inventory Control Tool (Video)
How to create
-
After logging into the WordPress dashboard, navigate to the “ESSIC Asset System” on the side menu.

-
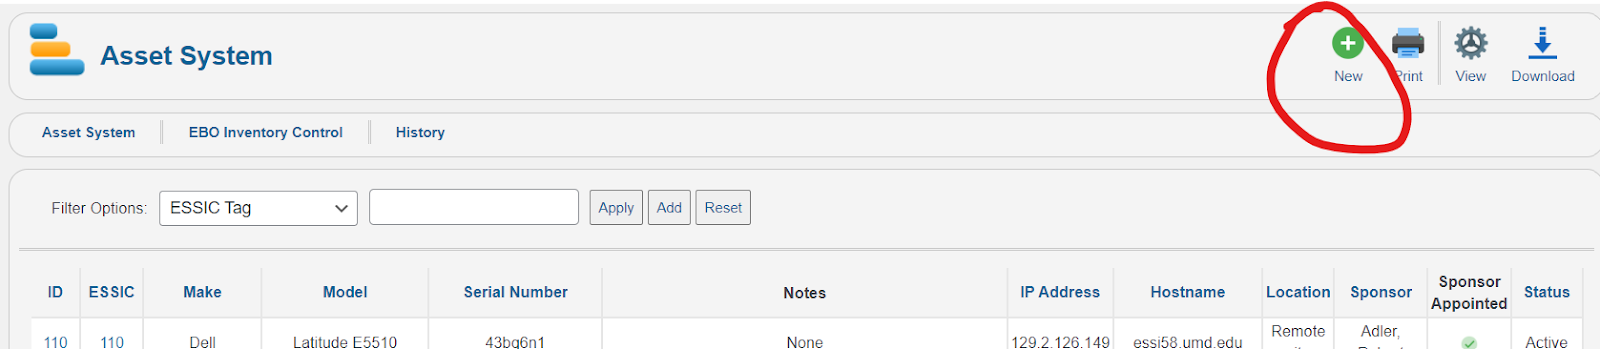
You should reach the ESSIC Asset System dashboard. On the top right, click “New”.
-
Enter the information as appropriate. Note that “System Notes'' is uneditable, that is the automatic history log of the item.
-
Click “Save and Exit” to return back to the Asset System dashboard.

How to edit
-
To edit a specific user, find them in the dashboard view using the filter and search tools.
-
Once you’ve found the item you want to edit, click the ESSIC tag number (the blue link).
-
Edit the fields as necessary.
-
When you’re done, make sure to click “Save and Exit” to return to the dashboard.
How to filter/search
-
There are many ways to find a user using the Asset System dashboard. At the top of the screen, there is a field called “Filter Options” with a dropdown that reads as “ESSIC Tag” as a default.

-
Click the first dropdown to change the filter. The options are:
-
ID
-
ESSIC Tag
-
Make
-
Model
-
Serial Number
-
IP Address
-
Internal IP
-
Hostname
-
Location
-
Management
-
Operating System
-
User
-
Sponsor
-
Type
-
Status
-
Secondary Tag Type
-
Secondary Tag Value
-
EBO PO
-
KFS PO
-
KPS Account
When you change the first dropdown, the second field will change as well to allow you to input that field for search.
-
You can also search by several filters. If you click “Add”, another filter will appear.
You can search by up to 6 filters at once.
-
Once you’re finished selecting your filters, click “Apply” to apply the filters.

How to edit your view
-
By default, the fields “ID”, “ESSIC”, “Make”, “Model”, “Serial Number”, “Notes”, “IP Address”, “Hostname”, “Location”, “Sponsor”, “Sponsor Appointed”, and “Status” appear on the dashboard, but that is editable. To change your default view, click the “View” button on the top right.

-
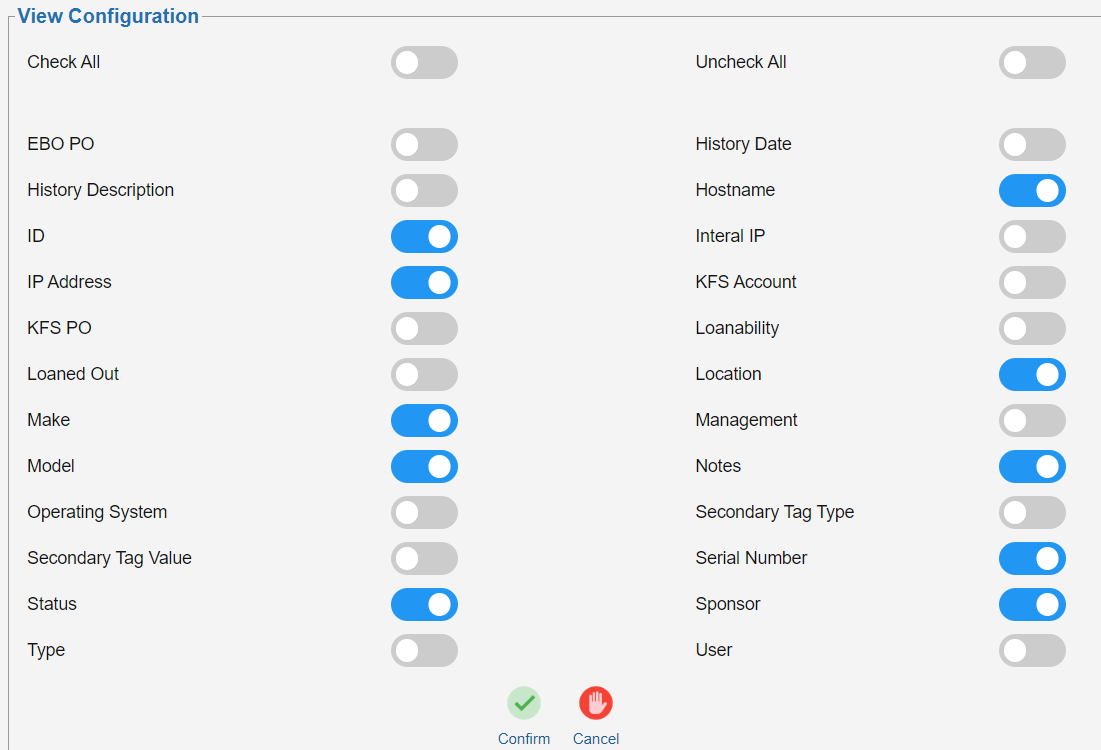
Clicking “View” will bring up the View Configuration menu. On this menu, click the toggle buttons to choose what fields you want immediately visible on your dashboard. Once you’ve chosen, click “Confirm” at the bottom of the window.
-
Once applied, your dashboard will default to your selected view when you reopen the page. Views can be changed an unlimited number of times, so feel free to experiment until you find something that works with your workflow.
How to download
-
The tool also allows you to download your current selection as a Microsoft Excel file. First, use the filters to refine your selection. For example, you could filter by “Status” being “Active”.
-
Click “Download” on the top right.

-
Access your downloaded file from the “Downloads” folder on your computer.